Stop and call for qualified help when plumbing water is near electrical equipment, sewage is entering occupied space, gas or burning odors are present, or a repair would require opening pressurized piping.
The Niceville home has passed your first walkthrough, but the guest tub drains slowly, the kitchen cabinet shows old water staining, and the seller cannot remember when the water heater was serviced. These may be minor issues or signs of delayed maintenance. Document each concern, avoid operating unfamiliar valves or taking plumbing apart, and schedule a licensed inspection before waiving your inspection rights.
A plumbing inspection checklist before buying a Northwest Florida home in Niceville evaluates how water enters the property, how fixtures use it, how wastewater leaves, and whether visible components show leakage, deterioration, or unsafe installation.
Review Records Before the Physical Inspection
Request invoices, permits, warranties, and dates for leak repairs, drain cleaning, sewer work, water-heater replacement, remodeling, or repiping.
Ask about repeated backups, high water bills, unexplained moisture, or past water shutoffs. Records do not replace testing, but they give the plumber a useful starting point.
Map the Water-Supply System
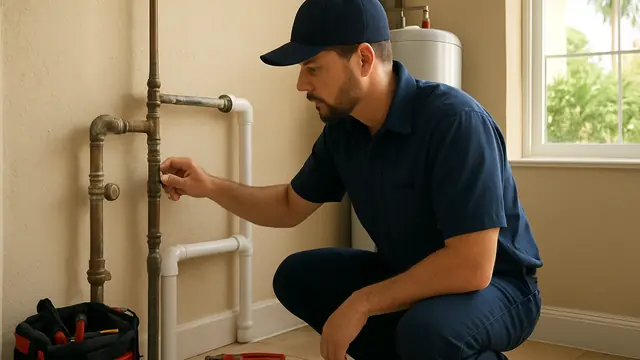
A plumber should identify the main shutoff and inspect visible supply piping for corrosion, leakage, unsupported sections, temporary patches, incompatible connections, and repeated repairs.
Do not force the main valve during a showing; an older valve can leak or fail when operated. The plumber can evaluate its access and reliability.
Plumbing Inspection Checklist Before Buying a Northwest Florida Home in Niceville: Compare Pressure and Flow
Pressure is the force moving water; flow is the amount delivered. A home may seem normal at one faucet yet show restricted flow when several fixtures operate.
The plumber compares hot and cold flow throughout the home. One weak fixture may have a clogged aerator or cartridge. Whole-home low flow can involve the main valve, regulator, service line, or supply piping.
Excessive pressure can shorten the life of valves, cartridges, hoses, connectors, and water-heater components.
Inspect Bathrooms Carefully
Toilets should flush fully, stop running, and remain firm. Movement can damage the floor seal. Moisture at the base may come from the seal, supply connector, condensation, or nearby plumbing.
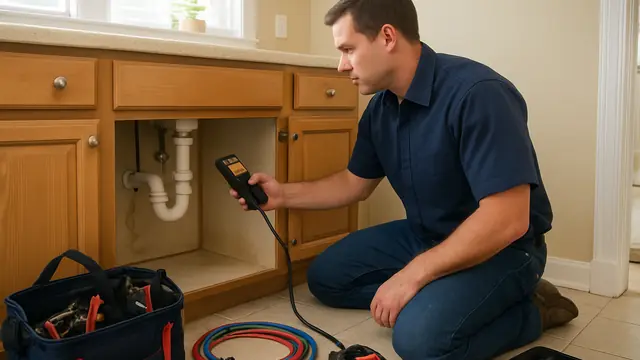
At sinks, inspect the faucet, drain, trap, supply lines, valves, and cabinet floor. Swelling, corrosion, stains, or musty odors may indicate leakage.
Tubs and showers should drain normally. Separate fixture testing can reveal whether staining comes from the drain, supply piping, valve, overflow, or enclosure.
Examine the Kitchen and Appliance Connections
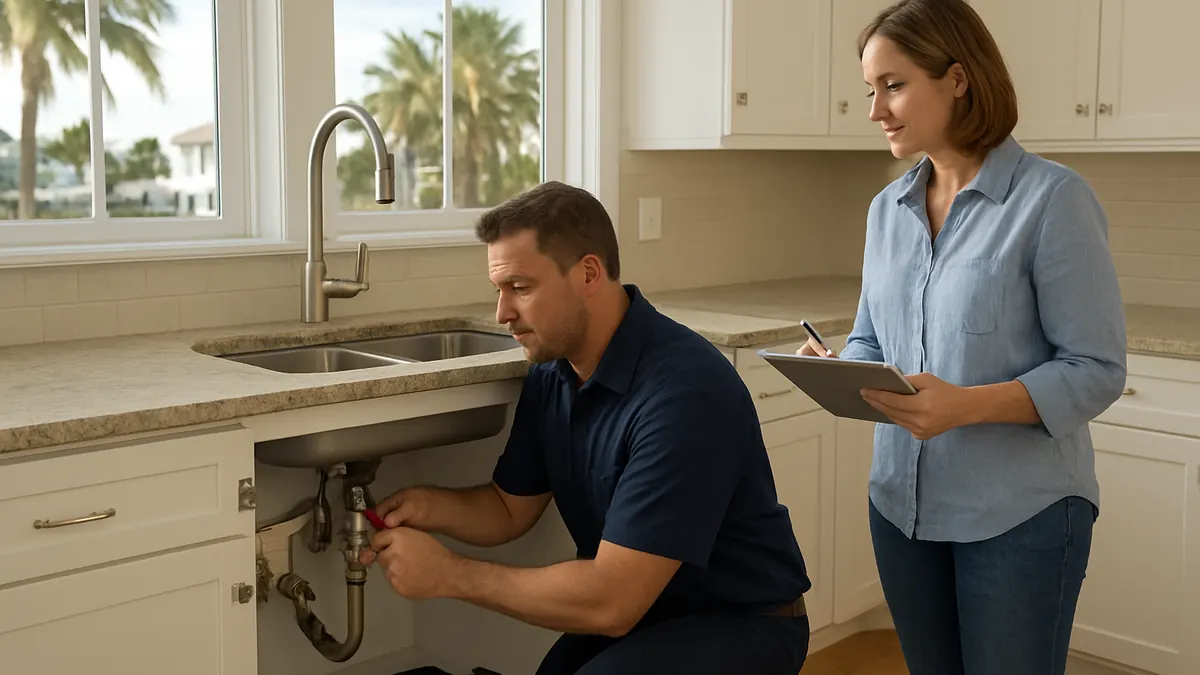
The kitchen inspection includes the sink, faucet, disposal, dishwasher, refrigerator line, drains, and valves. A dry cabinet stain still deserves testing to determine whether damage is historical or active.
Laundry hoses carry pressurized water, while the drain handles rapid discharge. Brittle hoses, corroded valves, poor drainage, or overflow evidence may require correction.
Evaluate the Water Heater as a Complete Installation
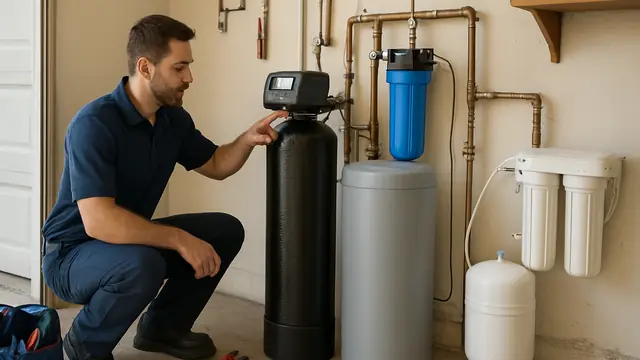
- Inspect the water heater, connections, shutoff access, drain pan where applicable, relief valve, discharge piping, and visible energy-source components.
- The relief valve protects against unsafe temperature or pressure. Buyers should not test it because an older valve may not reseal.
- Water around the base, rust, damaged venting, scorch marks, loose covers, or inconsistent hot water should be investigated before deciding between repair and replacement planning.
Test Drains for Patterns
One slow sink often indicates a local obstruction. Several slow drains, gurgling toilets, sewer odor, recurring backups, or water appearing in a tub when another fixture drains may point to a larger branch or main-line restriction.
A plumber may inspect accessible cleanouts, test fixtures in sequence, and recommend a sewer camera inspection when symptoms or history justify it. The camera can show visible buildup, offsets, standing water, obstructions, cracks, or damaged sections.
Search for Concealed-Leak Clues
Look for stains, peeling paint, warped trim, loose flooring, damaged cabinets, or musty odors. Even repaired areas should be explained.
Moisture meters, pressure testing, fixture isolation, or leak detection can show whether an area is dry or actively leaking.
Safe Checks the Buyer Can Perform
Compare hot and cold flow, flush each toilet, and watch how quickly fixtures drain.
Look beneath cabinets without moving plumbing. Check ceilings below bathrooms and floors around toilets, appliances, and the water heater. Record concerns and request repair documents.
What Buyers Should Not Attempt
Do not force shutoff valves, remove cleanout caps, disassemble traps, open water-heater electrical compartments, or test the relief valve.
Do not pour chemical drain cleaner into slow fixtures. It can create a hazard, damage components, and temporarily disguise a symptom without identifying the cause.
Urgent Warning Signs
Prompt evaluation is appropriate for active leaks, wastewater backup, strong sewer odor, wet ceilings, unstable toilets, water around the water heater, or moisture near electrical components.
Several slow drains, unexplained meter movement, sudden pressure changes, or repeated patchwork repairs also deserve attention before closing. A system that cannot be operated because utilities are off remains incompletely evaluated.
How a Licensed Plumber Diagnoses the Problem
The plumber combines history, visual inspection, fixture operation, pressure and flow testing, moisture readings, drain testing, and specialized tools when necessary.
Diagnosis should identify the source, not just restate the symptom. A running toilet may need a small internal adjustment. A ceiling stain may come from a supply line, drain connection, overflow, or enclosure. Multiple backups may require main-line testing rather than repeated treatment of individual fixtures.
Repair Options in Order of Invasiveness
The least invasive repair may be replacing an aerator, faucet cartridge, toilet component, supply connector, drain seal, trap part, or worn valve.
The next level may include professional drain clearing, fixture replacement, localized pipe repair, water-heater safety correction, or adding a usable cleanout.
More extensive work may involve water-heater replacement, sewer repair, partial repiping, or whole-home repiping. Those decisions should be based on confirmed condition, repair history, access, and remaining service life.
Factors That Affect Cost
Cost depends on location, access, pipe material, labor, equipment, permits, testing, and restoration.
An exposed connection is simpler than piping behind tile or below a slab. Sewer work varies with depth, length, access, and defect type. Water-heater work depends on equipment and installation corrections.
Prevention and Maintenance Guidance
After closing, locate and label the main shutoff and individual fixture valves. Replace worn appliance hoses, repair drips promptly, keep grease and wipes out of drains, and follow manufacturer maintenance guidance for the water heater.
Keep records and photographs of completed work. Regular attention to small changes in pressure, drainage, and moisture can help prevent larger damage.
Use the Inspection to Make a Better Buying Decision
A plumbing inspection checklist before buying a Northwest Florida home in Niceville gives you practical information about repairs, maintenance, urgency, and future planning. With documented findings, you can decide whether to proceed, request corrections, negotiate, or obtain additional evaluation before closing.
About this guide: This resource provides general homeowner education, not a remote diagnosis. Actual conditions, code requirements, equipment, and safe repair options must be evaluated at the property.