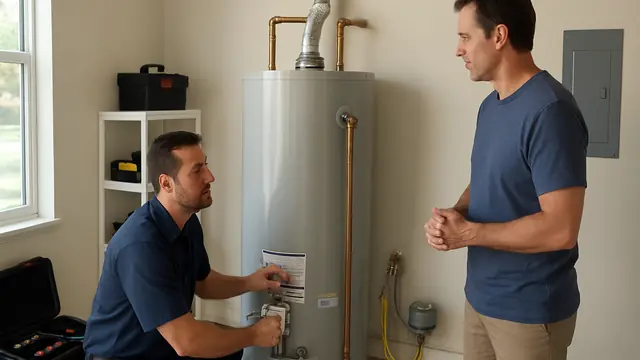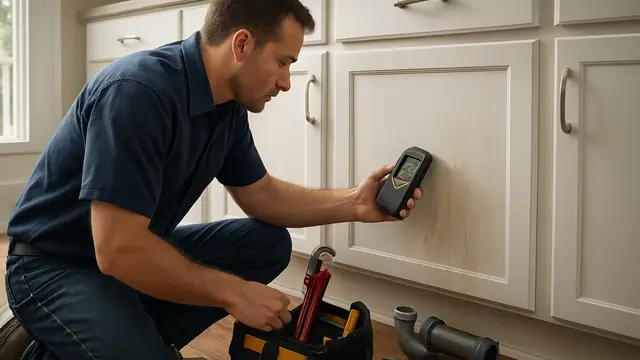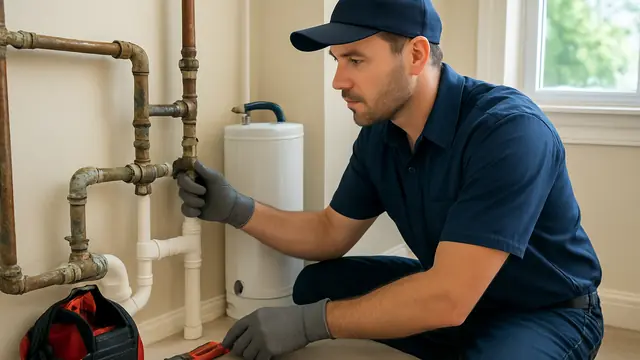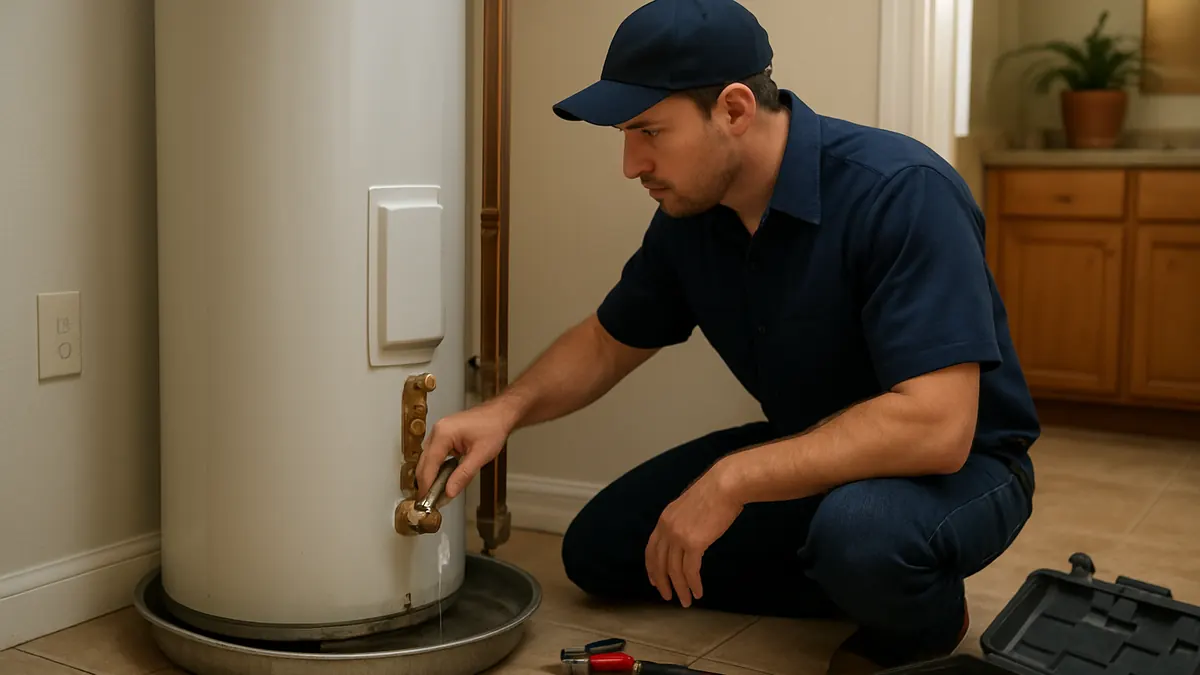
Stop and call for qualified help when plumbing water is near electrical equipment, sewage is entering occupied space, gas or burning odors are present, or a repair would require opening pressurized piping.
A leaking water heater in Shalimar may show up as a damp garage floor, water in a drain pan, a slow drip from a pipe, rust on the tank, or moisture around a utility closet. In some cases, the leak is discovered only after nearby drywall, baseboards, flooring, or stored belongings have been affected.
Recurring moisture should not be dismissed as normal humidity. Shalimar's warm, humid coastal environment can contribute to condensation and corrosion around exposed metal fittings, but a continuing puddle usually means water is escaping from the plumbing system or the heater.
Because a tank-style water heater remains connected to the home's pressurized water supply, a small leak can become more serious. The source may be a repairable connector or valve, or it may be the internal tank. Determining which one is leaking is the first step toward a safe and cost-effective solution.
Most Common Causes of a Leaking Water Heater
The hot-water outlet and cold-water inlet connections are common leak locations. Threaded fittings may loosen, flexible connectors may deteriorate, and metal nipples may corrode. Water from the top can run down the tank and collect underneath it, making the leak appear to come from the bottom.
The cold-water shutoff valve can leak around its stem, packing, body, or pipe connection. Rust or mineral deposits around the valve may reveal a slow leak.
The temperature and pressure relief valve, known as the T&P valve, may also release water. This valve protects the tank from unsafe heat or pressure. It may drip because it is worn, but it can also be reacting to high water pressure, thermal expansion, or a thermostat problem.
The drain valve near the bottom of the tank can leak after flushing, servicing, or years of use. Sediment may prevent the valve from sealing completely. Older plastic drain valves can become brittle and crack.
On electric heaters, the gasket around a heating element may fail. Water can enter the insulated jacket or electrical compartment before running down the tank.
Gas water heaters may produce temporary condensation during certain operating conditions. However, continuing water accumulation should be inspected.
The most serious possibility is an internally corroded tank. Traditional water heaters use a lining and sacrificial anode rod to protect the steel vessel. When corrosion penetrates the tank, water commonly appears around the lower seam or beneath the unit.
Safe Checks a Shalimar Homeowner Can Perform
Use a flashlight to inspect the top connections, shutoff valve, flexible connectors, T&P valve, discharge pipe, drain valve, tank seams, drain pan, and surrounding floor.
Keep away from hot pipes, wet wiring, gas controls, and burner components.
Dry the area and place paper towels beneath individual fittings. Check again after hot water has been used or after the heater completes a heating cycle. This may help identify when and where the leak appears.
Look for white mineral deposits, green corrosion, rust trails, damp insulation, stained drywall, warped flooring, or water marks in the drain pan.
Check nearby sources before assuming the heater has failed. Air-conditioning condensate lines, washing machine hoses, utility sinks, and plumbing inside a wall can direct water toward the heater.
If water is actively spreading and the cold-water shutoff valve turns easily, close it. Do not force a corroded valve. For an electric water heater, turn off the correct breaker when water is near electrical components, but never operate electrical equipment while standing in water.
What Homeowners Should Not Attempt
Never block, cap, or plug the T&P valve or discharge pipe. This safety valve must be allowed to release pressure.
Do not patch a leaking storage tank with epoxy, sealant, tape, putty, or caulk. A tank leaking through its metal shell has lost structural integrity and normally requires replacement.
- Avoid removing electrical access panels, heating elements, thermostats, gas valves, burners, or vent connectors without proper qualifications.
- Do not repeatedly reset a tripping breaker. The cause may be a failed element, damaged wiring, or water intrusion.
- Do not relight a gas water heater when the burner compartment is wet or gas is smelled. Avoid forcing an old shutoff or drain valve because it may break and release more water.
Signs That Make the Leak Urgent
Prompt professional help is needed when:
- Water is spraying or flowing continuously
- The puddle is growing quickly
- Water is entering walls, cabinets, or ceilings
- Steam is present
- The relief pipe is releasing very hot water
- The T&P valve will not stop discharging
- The tank is bulging or distorted
- Gas odor is present
- Wiring appears burned or melted
- Soot is visible near a gas burner
- Loud banging occurs with active leakage
- Water is reaching outlets or electrical panels
If gas is smelled, leave the area and contact the gas provider or emergency services from a safe location. Avoid switches, flames, and sparks.
How a Licensed Plumber Diagnoses the Problem
A licensed plumber first confirms that the heater is the actual water source. The technician traces moisture to its highest point and checks nearby plumbing and condensate equipment.
The inspection includes supply connectors, threaded fittings, shutoff valves, the T&P valve, discharge piping, drain valve, heating element areas, tank seams, and the drain pan.
Household water pressure may be measured. Excessive pressure can damage the heater and other plumbing components. If the home has a pressure-reducing valve, it may need adjustment or replacement.
Thermal expansion is also considered. Heated water expands, and a closed plumbing system may require an expansion tank. A failed or improperly charged expansion tank can cause pressure spikes and relief-valve leakage.
Electric heaters may be checked for leaking element gaskets, thermostat problems, damaged wiring, and proper grounding. Gas heaters may be inspected for combustion, burner condition, venting, gas connections, and exhaust safety.
The plumber evaluates the heater's age, corrosion, warranty, efficiency, and repair history before recommending a solution.
Repair and Replacement Options
A leaking water heater does not always need to be replaced. Repair options may include replacing a supply connector, threaded fitting, shutoff valve, drain valve, T&P valve, or heating element gasket.
A plumber may also repair a nearby pipe, correct excessive water pressure, replace a pressure regulator, or install or replace an expansion tank.
A leaking relief valve should not be treated as an isolated part failure until the pressure and temperature conditions are checked. Otherwise, the new valve may begin leaking again.
When the internal tank is leaking, replacement is generally necessary. Homeowners may compare conventional electric tanks, conventional gas tanks, high-efficiency storage heaters, heat pump water heaters, and tankless systems.
A standard tank may provide the lowest initial cost and simplest replacement. A heat pump water heater may offer energy savings where there is adequate space, airflow, and condensate drainage. A tankless unit can provide longer hot-water operation but must be sized for simultaneous demand and may require gas, venting, or electrical changes.
The best option should reflect household size, hot-water use, installation conditions, expected ownership period, and budget-not simply the highest-priced equipment.
Typical Factors Affecting Cost
Repair and replacement costs depend on:
- The exact source of the leak
- Heater age and condition
- Replacement part or complete equipment
- Tank capacity and efficiency
- Gas or electric service
- Accessibility
- Condition of existing valves and piping
- Water-pressure or expansion corrections
- Electrical capacity
- Gas-line and venting requirements
- Drain pan and drainage
- Permits and inspections
- Warranty coverage
- Removal and disposal
- Emergency timing
- Existing water damage
A simple valve replacement on an accessible heater is less involved than replacing a unit in a confined closet with corroded plumbing and inadequate drainage.
Prevention and Maintenance Guidance
Inspect the water heater several times each year for moisture, corrosion, mineral deposits, and deteriorating connectors. Coastal humidity can make corrosion easier to overlook, so pay attention to changes around exposed metal fittings.
- Flush a tank-style heater according to the manufacturer's instructions. Sediment buildup can reduce efficiency, create rumbling sounds, and increase stress on the tank.
- Have the sacrificial anode rod inspected periodically. Replacing a depleted rod may help extend the life of a structurally sound tank.
- Maintain safe household water pressure. Test the pressure regulator and expansion tank when those components are installed.
- Replace aging flexible connectors and corroded shutoff valves proactively. Keep the T&P discharge pipe unobstructed.
A drain pan with an approved drain line can reduce damage. Leak alarms and automatic shutoff valves provide added protection when the heater is located near finished space or the home is vacant for extended periods.
Early diagnosis may allow a focused repair and can prevent a larger leak from damaging the home. A Superior Mechanical can identify the source and explain the appropriate repair and replacement choices.
About this guide: This resource provides general homeowner education, not a remote diagnosis. Actual conditions, code requirements, equipment, and safe repair options must be evaluated at the property.