Stop and call for qualified help when plumbing water is near electrical equipment, sewage is entering occupied space, gas or burning odors are present, or a repair would require opening pressurized piping.
A small ceiling stain appears below a bathroom, but no fixture is overflowing. An access panel reveals flexible gray water lines, and you wonder whether they are polybutylene. Do not bend the tubing, tighten fittings, or cut into the wall. Photograph what is visible, locate the main shutoff, and arrange for a licensed plumber to identify the material and investigate the moisture.
Knowing how to identify polybutylene plumbing in Wright requires more than spotting gray plastic. Combine markings, fittings, installation pattern, repairs, and pipe function.
Recognizable Features of Polybutylene Plumbing
Polybutylene is flexible plastic tubing formerly used for pressurized residential water-supply systems. It may be gray, blue, or black and may serve fixtures, appliances, or water heaters.
Look for "PB," especially "PB2110." Paint or the pipe's position may hide it. Connections may use metal or plastic fittings held by copper-colored rings or aluminum bands. One fitting does not confirm the entire system.
Common Possible Explanations for Gray Pipe and Moisture
The visible tubing may be original polybutylene, a newer plastic supply pipe, a fixture connector, or even nearby conduit that is not part of the plumbing. The stain may come from a supply-line leak, drain connection, fixture seal, or appliance hose. A previous spot repair can also leave newer pipe connected to older concealed tubing. Identification and leak diagnosis are therefore related but separate tasks.
How to Identify Polybutylene Plumbing in Wright Step by Step
Verify That You Are Looking at a Supply Line
A supply line connects to a fixture, valve, appliance, or water branch. Large waste pipes and plumbing vents are different systems. Gray electrical conduit may look similar but does not carry water.
Search for Printing Without Disturbing the Pipe
Use a flashlight and camera to inspect visible letters and numbers. If the label faces the wall, look elsewhere. Do not rotate, scrape, or clean the pipe.
Study the Connection
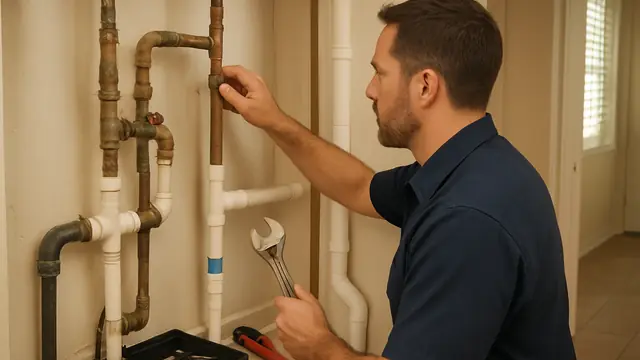
Photograph the valve, fitting, crimp ring, and any transition to copper, CPVC, or PEX. Material changes may show where an earlier repair or partial repiping project ended.
Build a Room-by-Room Picture
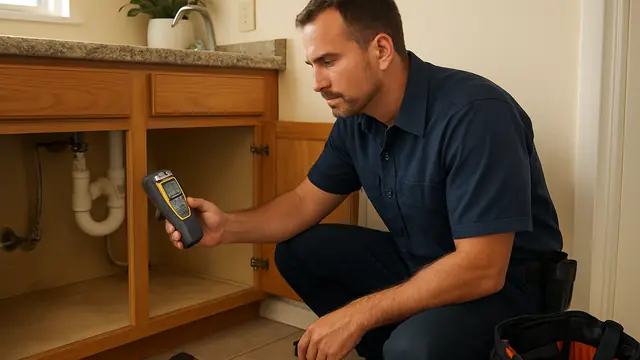
Check beneath sinks, near the water heater, at washing-machine connections, and inside access panels. Record which rooms show older and newer materials.
Safe Checks When You Suspect a Hidden Leak
- Look for stains, soft drywall, swollen cabinets, damp flooring, or musty odors. Water may travel along framing, so the visible stain may not be directly beneath the leak.
- Place a dry paper towel beneath an exposed questionable fitting and check it later. Do not wrap the fitting or push against the tubing.
- With water-using equipment off, observe the meter. Continued movement may suggest a leak but does not identify the source.
- Locate the main water shutoff and keep access clear. Do not force a valve that is corroded or difficult to operate.
- Note when the stain grows, any pressure changes, and previous repairs nearby.
What You Should Not Attempt
Do not flex, squeeze, twist, or pull suspected polybutylene to test whether it feels weak. Physical handling can stress an older connection.
Do not remove a crimp ring, loosen a fitting, cut out a sample, or install a universal coupling. A correct repair requires fittings and transition methods compatible with the materials involved.
- Do not use tape, epoxy, putty, sealant, or a clamp as a permanent repair on a pressurized water line.
- Do not raise the water pressure or perform an improvised pressure test. It cannot guarantee future performance.
- Avoid random demolition. Moisture testing and visible routing should guide any wall or ceiling opening.
Signs That Make the Situation Urgent
Active spraying, steady dripping, sudden pressure loss, or a rapidly moving water meter with no known water use requires prompt attention.
A sagging or bulging ceiling, water running from a light fixture, soft drywall, lifting floor covering, or expanding stain may indicate an active concealed leak.
Water near outlets, appliances, wiring, or an electrical panel creates an additional hazard. Do not touch nearby electrical equipment or stand in water where electricity may be present.
If water is escaping quickly, close the main supply only when the shutoff is safe to reach and operate. Keep people away from unstable ceiling materials.
Repeated leaks in different areas may justify evaluating the remaining supply system.
How a Licensed Plumber Diagnoses the Problem
A licensed plumber first identifies the visible pipe by checking its markings, dimensions, flexibility, fitting style, crimp method, valves, and transitions.
The plumber then compares several fixtures and uses accessible spaces, water-heater connections, repair openings, and panels to trace likely routes.
The moisture source must also be confirmed. A stain could result from a supply leak, drain, fixture seal, or appliance connection. Diagnostic tools may narrow the location and guide limited access.
The diagnosis should state what is confirmed, what remains concealed, and whether the leak is active. It cannot predict an exact failure date.
Repair Options Starting With the Least Disruptive
Stop and Correct the Active Leak
When water is escaping, control the leak and replace the failed section with an approved transition. This does not renew the remaining system.
Document a Dry or Limited Installation
When no active failure is found, identification, photographs, mapped locations, and written recommendations may be sufficient.
Replace One Accessible Branch
When polybutylene is limited to a defined run, that branch may be replaced without disturbing unrelated modern plumbing.
Complete a Planned Partial Repipe
Several high-priority or accessible sections may be replaced together. The proposal should identify exactly which older lines will remain afterward.
Repipe the Complete Water-Supply System
When polybutylene is widespread, associated with repeated leaks, or impractical to isolate, complete repiping may provide the clearest long-term solution. The scope should identify the new pipe material, routing, fixture reconnections, testing, access openings, permits when applicable, and finish restoration.
Typical Factors Affecting Cost
Cost depends on the amount of pipe, number of fixtures, home layout, number of levels, accessibility, replacement material, routing, valve condition, and number of transitions.
Surface restoration, permits, and difficult access may add labor. Compare written scopes so repair, testing, access, and restoration responsibilities are clear.
Prevention and Maintenance Guidance
Keep the main shutoff accessible. Consider water alarms near the washing machine, water heater, and sinks.
Inspect visible plumbing periodically without touching the fittings. Investigate new stains, musty odors, unexplained water use, or pressure changes promptly.
Save repair photographs and invoices. During renovation, document open walls. If polybutylene is confirmed but dry, create a monitoring or replacement plan and update it after any failure.
Move From a Suspicious Stain to a Confirmed Answer
Knowing how to identify polybutylene plumbing in Wright starts with careful observation of PB markings, flexible supply tubing, crimped fittings, transitions, and previous repairs. The moisture source must be identified separately because a stain alone does not prove which component is leaking.
A licensed plumber can confirm the pipe, determine how widely it is installed, locate active moisture, and explain the least disruptive reasonable response. That may be an isolated repair, documentation, branch replacement, phased repiping, or complete replacement.
About this guide: This resource provides general homeowner education, not a remote diagnosis. Actual conditions, code requirements, equipment, and safe repair options must be evaluated at the property.