Stop and call for qualified help when plumbing water is near electrical equipment, sewage is entering occupied space, gas or burning odors are present, or a repair would require opening pressurized piping.
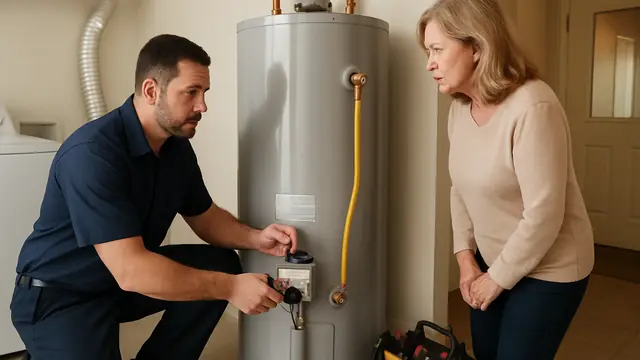
Discovering water around a water heater can be alarming, especially when the heater is located inside a utility closet, garage, laundry room, or finished area of a Fort Walton Beach home. The homeowner may notice a small puddle, rusty streaks on the tank, damp flooring, dripping from a pipe, or water collecting in the drain pan.
The location of the water does not always reveal the location of the leak. Water from a connection at the top of the heater can run down the side and collect underneath the tank. A nearby air-conditioning drain, plumbing pipe, washing machine, or exterior wall may also create moisture that appears to come from the heater.
A water heater leak should be evaluated before it becomes a larger plumbing emergency. Some leaks are caused by replaceable parts. Others are signs that the steel tank has reached the end of its service life.
Most Common Causes of a Leaking Water Heater
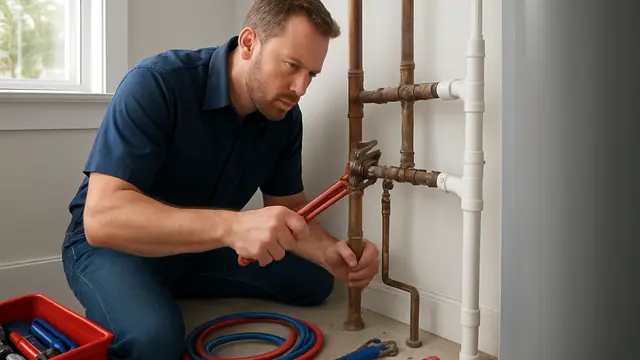
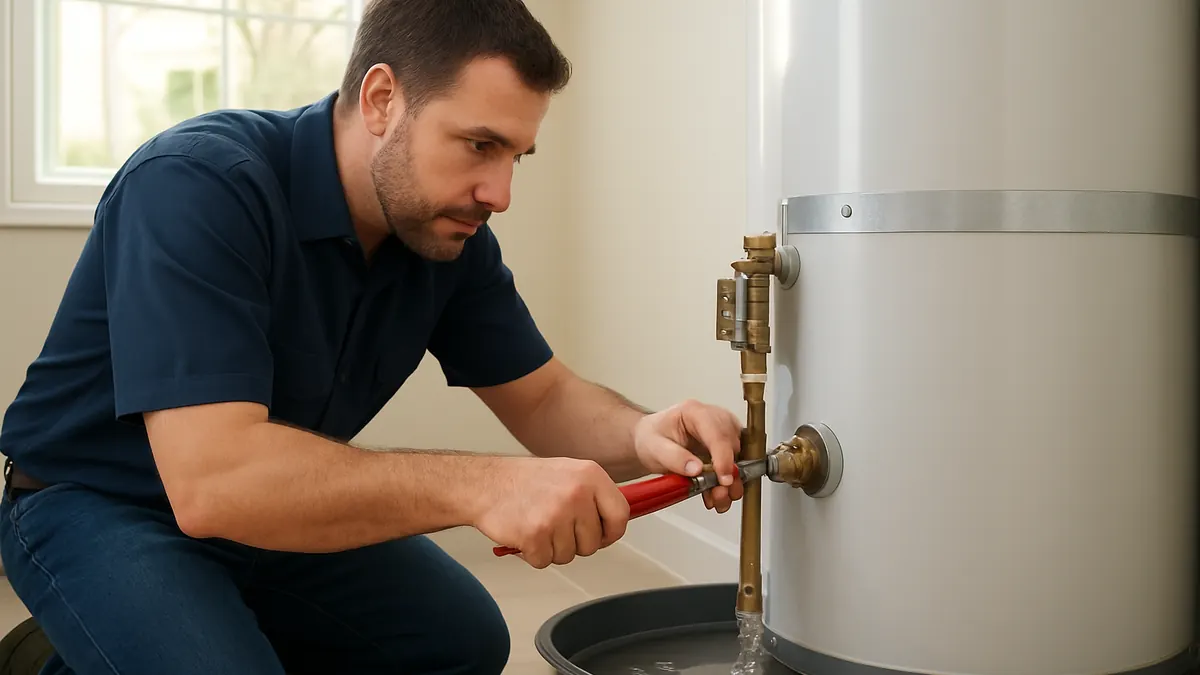
Loose or corroded water-line connections are a frequent cause. The cold-water inlet, hot-water outlet, flexible supply lines, nipples, and shutoff valve are exposed to heat, pressure, and normal movement. Mineral deposits or green, white, or reddish discoloration around a fitting may identify a slow leak.
A temperature and pressure relief valve can also release water. The T&P valve protects the heater from unsafe temperature or pressure. It may leak because the valve is worn, but continuous discharge can be a warning of high water pressure, thermal expansion, or excessive temperature.
The drain valve at the lower portion of the tank may drip after flushing, become damaged, or develop mineral buildup that prevents a complete seal.
On electric water heaters, water can leak around a heating element gasket. This may cause moisture behind an access panel or along the side of the tank.
On gas water heaters, moisture may come from condensation, especially during heavy hot-water use. Nevertheless, persistent water around the burner compartment or base requires inspection.
An internal tank leak is generally the most serious cause. Once corrosion creates an opening in the storage tank, the tank cannot be reliably repaired. Water commonly appears beneath the heater or around the lower seam.
Safe Checks Homeowners Can Make
Homeowners can begin with a careful visual inspection. Look at the top connections, shutoff valve, flexible connectors, T&P valve, discharge pipe, drain valve, tank body, and drain pan.
Dry the area completely and observe where moisture returns. A dry paper towel placed near a fitting can make a slow drip easier to detect. Avoid touching hot piping or opening electrical compartments.
Check nearby equipment and plumbing. In many Fort Walton Beach homes, the water heater may share a utility space with an air handler or washing machine. Condensate drain problems and washer-hose leaks can be mistaken for water heater failures.
Look for rust, mineral buildup, swollen drywall, stained baseboards, or flooring damage. These signs can indicate that the leak has existed longer than the visible puddle suggests.
When the leak is active and the water is spreading, the heater's cold-water shutoff valve may be closed if it turns easily. Do not force a corroded valve. Electric power can be switched off at the correct breaker when it can be done safely and confidently.
Repairs Homeowners Should Avoid
Do not plug or restrict a T&P valve or its discharge pipe. Water coming from this safety device may indicate a dangerous pressure or temperature condition.
Do not apply epoxy, tape, caulk, or a tank-sealing product to a leaking tank. A corroded tank has lost structural integrity. Temporary surface patches can conceal the leak without making the system safe.
Avoid replacing gas valves, electrical components, heating elements, thermostats, or vent parts without the necessary training. Water heaters combine water, pressure, heat, electricity, and sometimes combustible gas.
Do not attempt to restart a gas heater when there is standing water in the burner area. Do not restore power to an electric unit if water may have entered the wiring compartments.
Signs the Situation Is Urgent
A rapidly expanding puddle requires prompt action. Water can travel beneath flooring, enter wall cavities, damage cabinets, and create mold-friendly conditions.
Contact a professional quickly when you observe:
- Water spraying or flowing continuously
- Water reaching electrical wiring or outlets
- Steam around the heater
- Extremely hot discharge from the T&P pipe
- A tank that appears swollen or deformed
- Cracking, popping, or violent rumbling
- Burning smells or scorched electrical components
- Gas odors
- Soot or discoloration near a gas burner
- Water entering a neighboring room or lower floor
When a gas odor is present, leave the area and contact the gas provider or emergency services from a safe location. Do not use switches, phones, flames, or tools near the suspected leak.
How a Licensed Plumber Locates the Problem
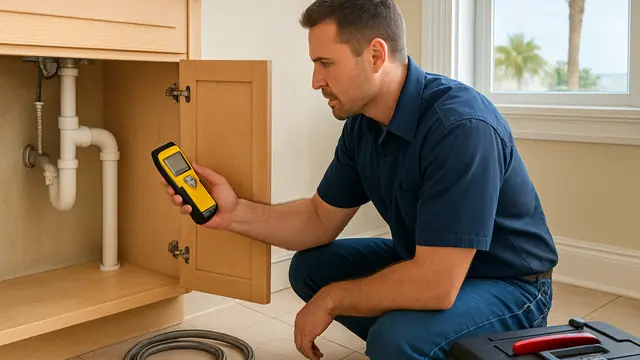
A plumber traces the water to its highest visible point and inspects each component under normal operating conditions. The evaluation includes the inlet and outlet fittings, supply lines, shutoff valve, drain valve, T&P valve, tank seams, drain pan, and nearby plumbing sources.
The plumber may measure static and operating water pressure. High pressure places added strain on the heater and the rest of the plumbing system. If the home has a pressure-reducing valve, it may require adjustment or replacement.
Thermal expansion is another important consideration. When water is heated, it expands. In a closed plumbing system, an expansion tank may be needed to absorb the increase. A failed or improperly charged expansion tank can contribute to recurring relief-valve discharge.
Electric units may be tested for leaking heating element gaskets, thermostat problems, damaged wiring, and electrical safety. Gas units may be checked for combustion quality, venting, burner condition, gas leaks, and condensation.
The plumber will consider the age and condition of the tank before recommending repair or replacement.
Available Repair Options
When the leak comes from an external component, repair may be practical. Options may include replacing a flexible connector, repairing a threaded fitting, replacing a shutoff valve, installing a new drain valve, replacing an element gasket, installing a new T&P valve, or correcting a pressure problem.
The underlying cause should be corrected. For example, a new T&P valve may continue leaking when excessive pressure or thermal expansion remains unresolved.
If the tank is leaking internally, replacement is normally required. Replacement choices include a standard tank-style electric heater, standard gas heater, high-efficiency tank, heat pump water heater, or tankless system.
The best recommendation should reflect the property's actual needs. A smaller household may be well served by a properly sized conventional tank. A larger family may benefit from additional storage capacity or a tankless system designed for the required flow rate.
Repair may also be less attractive when an older heater has multiple deteriorated components, heavy corrosion, poor efficiency, or no remaining warranty. Conversely, repairing a newer heater with an isolated valve or connector leak may be the most economical choice.
What Affects the Cost?
Repair costs vary based on the failing part, required labor, access, and whether additional plumbing corrections are necessary.
Important factors include:
- Heater age and condition
- Replacement part availability
- Tank capacity
- Gas, electric, heat pump, or tankless design
- Accessibility of the water heater
- Condition of the water shutoff
- Water-pressure issues
- Expansion tank condition
- Venting or combustion-air requirements
- Electrical circuit capacity
- Drain pan and drain-line needs
- Required permits and inspections
- Emergency service timing
- Existing water damage
A code-compliant replacement may require more than exchanging the tank. Safe installation can involve new connectors, updated shutoff components, proper discharge piping, securing the unit, drainage protection, venting corrections, or electrical upgrades.
Maintenance and Leak Prevention
Inspect the water heater regularly for rust, moisture, mineral deposits, and staining. Pay particular attention to connectors and valves.
Traditional tanks should be flushed as recommended by the manufacturer. Sediment can collect at the bottom, reduce heat transfer, create rumbling sounds, and increase stress on the tank.
Have the anode rod evaluated periodically. The anode rod helps protect the steel tank from corrosion. Once consumed, the tank becomes more vulnerable.
Maintain suitable water pressure and test the expansion tank when one is present. Replace old braided connectors and corroded shutoff valves before they fail.
A drain pan can limit damage when it is correctly sized and connected to an approved drain location. Water alarms and automatic shutoff devices provide additional protection for heaters located in interior spaces.
Homeowners should also know the location of the water shutoff and the electrical breaker or gas shutoff serving the unit. Quick action can substantially reduce damage when a leak begins.
A Superior Mechanical can evaluate whether the Fort Walton Beach water heater needs a targeted repair, a safety correction, or full replacement. The objective should be to solve the cause of the leak rather than simply drying the visible water.
About this guide: This resource provides general homeowner education, not a remote diagnosis. Actual conditions, code requirements, equipment, and safe repair options must be evaluated at the property.