Stop and call for qualified help when plumbing water is near electrical equipment, sewage is entering occupied space, gas or burning odors are present, or a repair would require opening pressurized piping.
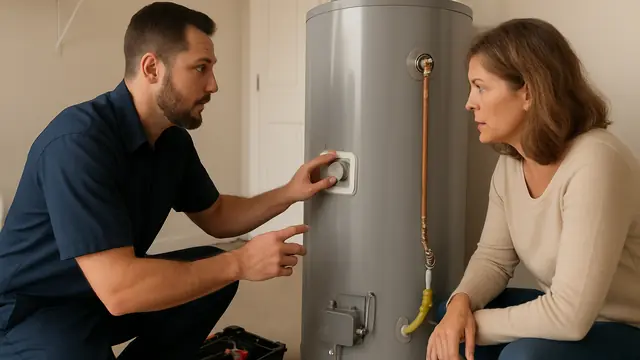
A water-heater leak may appear during an ordinary morning, a property check, or after the home has been unoccupied. You may see water in the drain pan, a wet line down the tank, or a spreading puddle. If you are asking, "Why is my water heater leaking in Upper Grand Lagoon?" limit the water safely and determine whether the source is a serviceable component or the tank.
Move belongings away. If water is flowing and the cold-water valve is safely accessible, close it. Turn off an electric heater at the breaker only when the floor and panel are dry. Do not touch wet wiring or adjust gas components. If you smell gas, leave and contact the gas utility or emergency services.
Do Not Let the Puddle Alone Determine the Diagnosis
Water at the bottom can originate at the top, follow the jacket, or come from nearby plumbing. The highest wet point is the best clue.
Why Is My Water Heater Leaking in Upper Grand Lagoon?
A Flexible Connector or Pipe Fitting Is Leaking
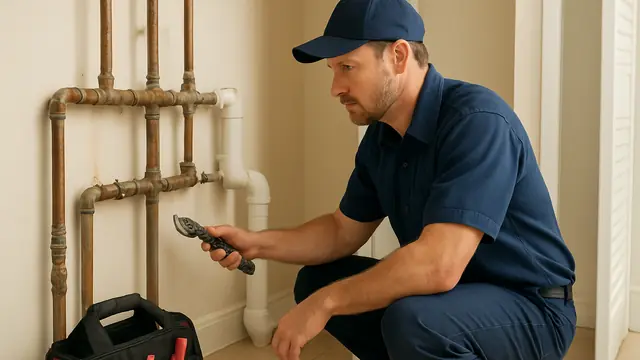
Top supply lines, fittings, unions, and shutoff valves can leak as seals age or corrosion develops. A plumber may replace the affected part while keeping the tank in service if its connection remains sound.
The Temperature-and-Pressure Relief Valve Is Releasing Water
The temperature-and-pressure relief valve, commonly called the T&P valve, protects the heater from excessive internal temperature and pressure. Water from its discharge pipe can mean the valve is worn. It may also indicate high incoming water pressure, thermostat or control problems, overheating, or thermal expansion.
Thermal expansion occurs when heated water increases in volume and raises system pressure. Never cap, plug, clamp, or restrict the T&P valve or discharge pipe.
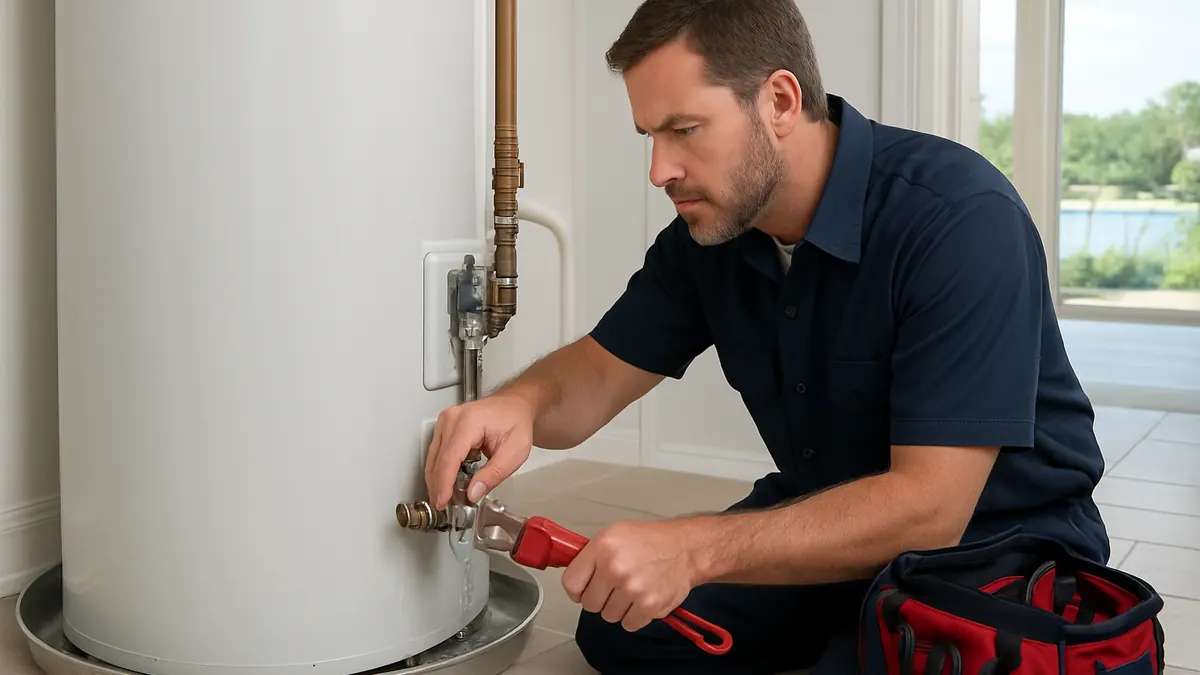
The Drain Valve Is Dripping
The drain valve may seep because it is not fully closed, sediment is trapped, or the valve has deteriorated.
A Heating-Element Gasket Is Leaking
Electric heating elements use gaskets at the tank wall. A deteriorated gasket can leak behind an access panel and send water downward.
Condensation Is Collecting
Temporary condensation can form during a long recovery cycle, but recurring puddles or steady moisture require inspection.
The Inner Tank Is Corroded
A tank-style heater has a steel vessel protected by a lining and sacrificial anode rod, but both protections eventually deteriorate.
When water emerges through the tank body, beneath the jacket, or along the bottom seam, the inner tank may have corroded through. An exterior patch cannot restore the integrity of a leaking pressure vessel.
Safe Checks the Homeowner Can Perform
- Dry the tank and floor. Place paper towels beneath top fittings, the drain valve, and the T&P discharge pipe. Check which becomes wet first.
- Note whether the leak follows hot-water use, continues while idle, and whether the water is hot or cold.
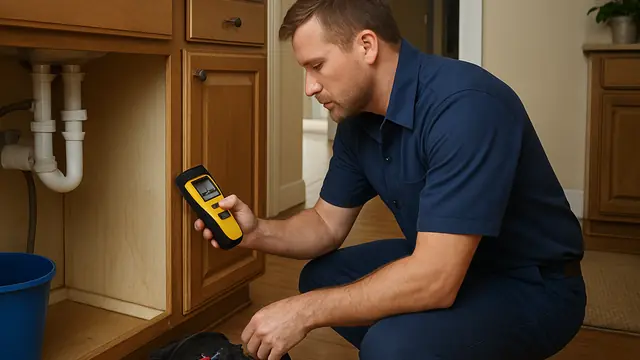
- Look around for leaking pipes or appliance drainage. Take photographs, but do not remove panels, burner covers, insulation, thermostats, or wiring.
What the Homeowner Should Not Attempt
- Do not use epoxy, tape, caulk, or stop-leak chemicals on the tank. Surface products cannot repair internal corrosion.
- Do not keep resetting a tripped breaker; an element, wiring, or wet component may have failed.
- Do not drain a hot, pressurized tank without understanding the safe procedure; escaping water can cause burns.
- Never disable the T&P valve or modify gas controls, piping, burners, or venting without proper qualifications.
Signs That Make the Problem Urgent
- Call promptly if water flows continuously, reaches electrical equipment, enters walls, or damages finished surfaces.
- A bulging tank, steam, scalding water, or forceful T&P discharge may indicate unsafe conditions.
- A gas odor, soot, scorch marks, or damaged venting requires immediate attention. Leave if gas is suspected, and keep a wet electric heater off.
- A leak at an unoccupied property deserves quick action because water can continue without anyone present.
How a Licensed Plumber Diagnoses the Leak
- A plumber verifies the source by drying the unit and observing it under pressure and during a heating cycle.
- The inspection includes connections, valves, the tank jacket, and nearby plumbing. Household pressure may be measured.
- For relief-valve leakage, the plumber checks temperature, thermostat operation, incoming pressure, thermal expansion, and heating-cycle pressure changes.
- Electric units may require element, thermostat, wiring, and gasket tests. Gas units may require burner, control, combustion, and venting inspection.
- The plumber also considers corrosion, repair history, capacity, and installation to distinguish a practical repair from an unreliable tank.
Repair Options Starting With the Least Invasive
A leaking flexible connector, fitting, union, or shutoff valve may be replaced without replacing the heater. A drain valve may also be replaceable if the tank opening remains sound.
- An element gasket may be replaced after safe isolation. A worn T&P valve may be replaced after pressure, temperature, and expansion problems are corrected.
- Pressure-related leakage may require a regulator, expansion-control device, or related plumbing repair.
- Replacement is necessary when the inner tank leaks and may be most reliable when corrosion or multiple failures are extensive.
- Homeowners can compare tank and tankless equipment based on demand, fuel source, utility capacity, space, installation requirements, and maintenance expectations.
Typical Factors Affecting Cost
- Repair cost depends on the source, part, access, and diagnostic time. A connector repair differs from intermittent relief-valve diagnosis.
- Replacement cost reflects capacity, fuel type, efficiency, venting, utility modifications, piping, drain-pan needs, permits, disposal, and safety corrections.
- Access also affects labor; an open area differs from a confined closet.
Prevention and Maintenance Guidance
- Inspect regularly, especially before leaving a property unoccupied. Look for rust, dampness, deposits, or staining.
- Follow manufacturer guidance, which may include flushing, anode-rod inspection, thermostat checks, burner service, venting inspection, or electrical testing.
- Keep the area visible. A water alarm can provide warning, while a drain pan may reduce damage but cannot prevent leakage.
- After T&P discharge, have pressure and expansion control evaluated rather than only replacing the valve.
Choose the Next Step Based on the Actual Source
When you ask, "Why is my water heater leaking in Upper Grand Lagoon?" the cause may be a connection, valve, gasket, pressure condition, or failed tank. Several are repairable, but pressure-vessel leakage requires replacement.
Contain water when safe, avoid patches or disabled safety devices, and have the source identified before the leak spreads.
About this guide: This resource provides general homeowner education, not a remote diagnosis. Actual conditions, code requirements, equipment, and safe repair options must be evaluated at the property.