Stop and call for qualified help when plumbing water is near electrical equipment, sewage is entering occupied space, gas or burning odors are present, or a repair would require opening pressurized piping.
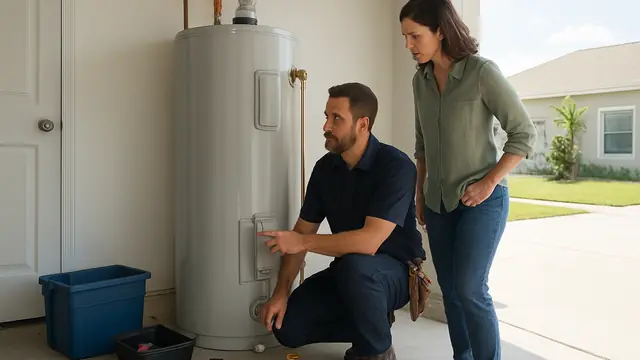
You may first notice the problem while doing laundry, parking in the garage, or opening a utility closet: the floor is wet, the water heater is dripping, and you are unsure whether the leak has been there for minutes or days. If you are asking, "Why is my water heater leaking in Callaway?" begin by treating the water as a warning, not merely a cleanup problem. The leak may come from a repairable valve or pipe connection, but it may also be the first visible sign that the tank has corroded.
Move boxes, tools, and other belongings away from the water. If the leak is active and the cold-water shutoff valve is accessible without stepping into water near electricity, turn the valve clockwise to stop incoming water. An electric water heater can be switched off at the breaker when the panel and your path to it are dry. Do not touch a wet disconnect, exposed wiring, or gas control. A gas smell requires leaving the area and contacting the gas utility or emergency services.
First Determine Whether the Water Heater Is Actually Leaking
Dry the floor and the outside of the tank. Place dry paper towels beneath the hot-water outlet, cold-water inlet, temperature-and-pressure relief discharge pipe, drain valve, and lower edge of the tank. Check them periodically without removing covers. The first wet location can help identify the source.
Why Is My Water Heater Leaking in Callaway?
A Connection at the Top Is Dripping
Most tank-style heaters have water connections at the top. Flexible supply lines, threaded adapters, unions, and shutoff valves can loosen or deteriorate. A small drip may run along the tank jacket and pool below.
The T&P Valve Is Releasing Water
The temperature-and-pressure relief valve protects the tank from unsafe temperature or pressure. It may release a few drops because the valve is worn, but repeated discharge can also mean water pressure is too high, the heater is overheating, or heated water has insufficient room to expand.
The Drain Valve Is No Longer Sealing
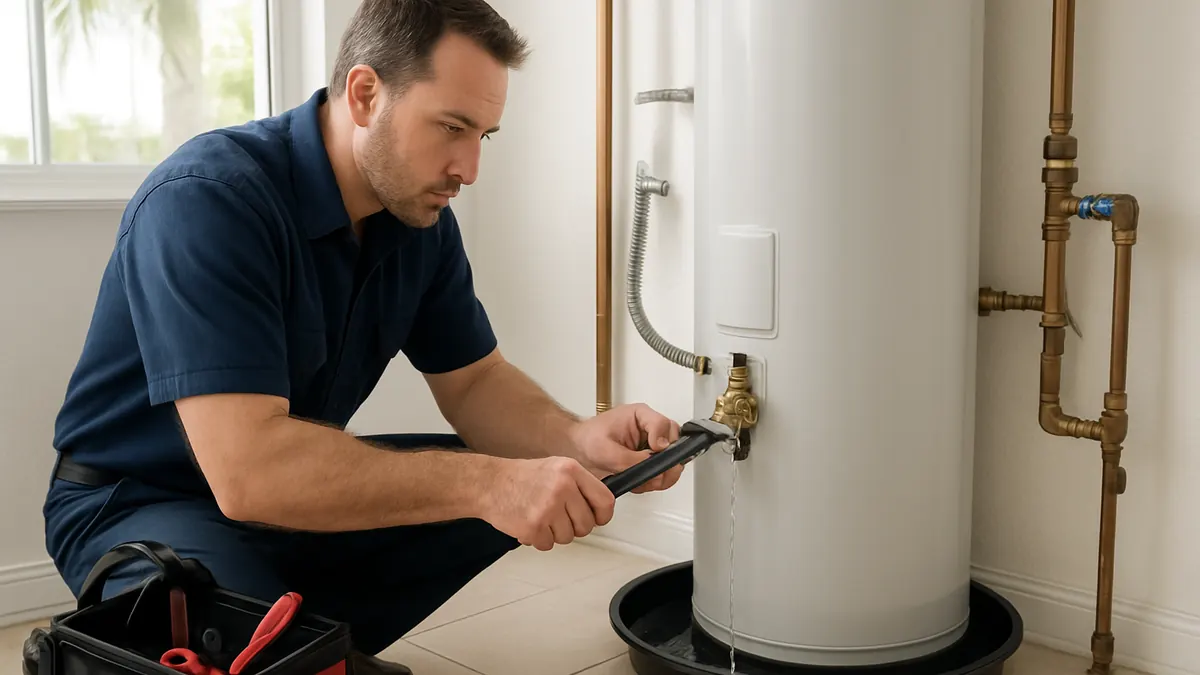
The drain valve near the bottom may seep after flushing, sediment disturbance, or years of use. Sometimes the valve has not fully closed. In other cases, its washer, stem, or body has failed.
The Tank Has Developed an Internal Leak
The steel tank is protected by a lining and an anode rod, yet corrosion can eventually create a hole. Water may emerge from the bottom seam or from beneath the jacket where no serviceable valve is located.
A leaking inner tank cannot be made dependable with exterior sealant. Replacement is usually required because the pressure-containing vessel has failed.
When the Situation Requires Immediate Attention
A water heater leak becomes urgent when water is flowing continuously, spreading toward electrical equipment, entering walls, or damaging finished flooring. Shut off the incoming water if it is safe, then request prompt service.
Other warning signs include a bulging or distorted tank, very hot or steaming water, a relief valve discharging forcefully, popping noises accompanied by leakage, soot near a gas burner, a gas odor, or repeated breaker trips.
Safe Checks You Can Make
You can inspect the unit visually from all accessible sides. Use a flashlight without touching wet electrical parts. Look for mineral residue, rust trails, wet insulation, or a drip forming at a connection.
Take photographs of the source and surrounding area. Note when the water was first seen, whether hot-water performance changed, and whether plumbing work recently occurred. These details can make the service visit more efficient.
What a Homeowner Should Not Do
Do not continue operating a heater that is leaking onto wiring, controls, a burner, or a receptacle. Do not use an extension cord, temporary wiring, or repeated breaker resets to keep an electric unit running.
Do not plug a T&P valve, clamp its lever, or block its discharge pipe. Do not use stop-leak chemicals in a domestic water heater. Do not attempt to weld, solder, or epoxy a leaking tank shell.
How a Licensed Plumber Finds the Cause
The technician begins by confirming whether the moisture originates from the heater or another source. Connections are dried and observed under normal water pressure. The plumber checks the inlet and outlet, shutoff valve, T&P valve, discharge piping, drain valve, and tank jacket.
System pressure may be measured with a gauge. If pressure rises as water heats, the plumber may investigate thermal expansion and the condition of any expansion-control equipment. Water temperature can be compared with the thermostat setting.
Repair Choices From Minor Correction to Replacement
The least invasive solution may be tightening or replacing a connection after the tank fitting is inspected. A leaking supply connector, shutoff valve, or drain valve may be replaced. An electric element gasket may be repaired if the tank opening is sound.
A defective T&P valve can be replaced only after pressure and temperature causes are evaluated. If excessive system pressure or thermal expansion is responsible, correcting that condition is part of the repair.
Replacement is recommended when the tank itself leaks, the shell is badly corroded, or several failures make further repairs unreliable. The new heater should be selected according to household hot-water demand, available fuel or electrical service, installation space, recovery needs, and applicable installation requirements.
Factors That Affect Repair or Replacement Cost
The source of the leak is the largest factor. A visible connector replacement requires different labor and materials than diagnosing intermittent relief-valve discharge or replacing an electric element.
Access also matters. A heater in an open garage is different from one in a tight closet or an area where finished surfaces must be protected. Fuel type, venting, electrical capacity, shutoff condition, pipe modifications, drain-pan arrangements, permits, and disposal can affect replacement work.
How to Reduce the Chance of Another Leak
Keep the area around the water heater visible and free of stored items that can hide moisture. Periodically look at the top connections, relief discharge pipe, drain valve, and base for corrosion or staining.
Follow the manufacturer's maintenance guidance. Depending on the unit and conditions, maintenance may include flushing, checking the anode rod, testing controls, and inspecting venting or electrical connections. A professional should evaluate water pressure and expansion control when relief-valve discharge has occurred.
Get the Leak Identified Before Damage Spreads
The answer to "Why is my water heater leaking in Callaway?" may be as simple as a failed connector or as serious as a corroded tank. Contain the water safely, avoid unsafe do-it-yourself repairs, and have the exact source identified. Acting early gives you more control over the repair decision and helps limit property damage.
About this guide: This resource provides general homeowner education, not a remote diagnosis. Actual conditions, code requirements, equipment, and safe repair options must be evaluated at the property.